Home / Lantern and Downlight Placement at a Gate
Lantern and Downlight Placement at a Gate
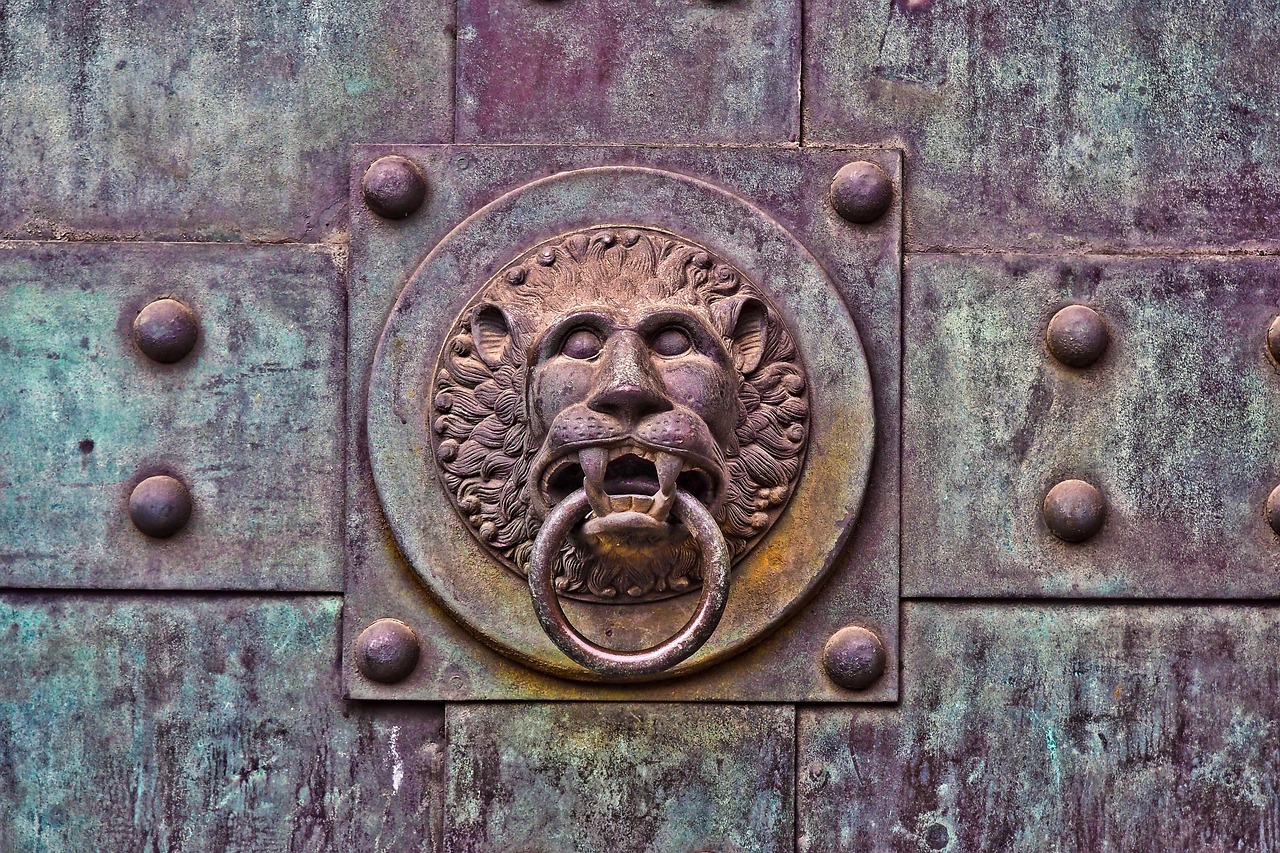
Lantern and downlight placement at a gate decides whether the entrance feels welcoming or glaring. A lantern on a column gives the entry character, and a downlight over the latch gives practical light where hands need it. Putting each in the right place, at the right height and aimed correctly, is mostly a matter of simple geometry.
Lanterns on columns
A post top lantern sits on the cap of a gate column. It lights the surrounding area and signals the entrance from a distance. The height of the column sets the height of the lantern, so the combined height should feel in proportion with the gate. A lantern much too large for a short column looks top heavy, and one that is too small disappears.
A common rule is for the lantern to be about one quarter to one third of the column height. Choose a lantern with a diffuser or frosted glass so that the bulb is not visible from the street, which reduces glare. Match the finish to the gate and to other outdoor fixtures on the house.
Downlights
A downlight is a fixture that aims light straight down. Mounted under a cap, a trellis or an overhang above the gate, it lights the latch, the walkway and the house number. A downlight keeps light low and contained, which is easier on neighbors and the night sky. Place it so that the beam falls on the area where people stand when they open the gate.
Height matters. Mounted at about seven to eight feet, a downlight spreads a pool of light about six to eight feet across. Lower mounting gives a tighter pool and a brighter spot, and higher mounting gives a wider, softer wash.
Wall sconces
A sconce mounted on the side of a column lights the face of the gate and the adjacent surfaces. Place it about five to six feet above the ground so that it sits roughly at eye level, though shielding is needed to prevent glare in the eyes of someone approaching. Pairs of sconces on both columns create a balanced entry.
Path and accent lights
Low path lights along the approach guide people to the gate and add safety. Space them about six to eight feet apart for gentle coverage. Uplights at the base of a column, aimed up at the surface, highlight the texture of brick or stone. Keep the beam narrow and the output modest. A strong uplight aimed at a gate can blind a driver on the road.
Color temperature and brightness
Warm white light, around 2700 kelvin, is soft and flattering to metal, brick and stone, and it matches typical home lighting. Cool white light, above 4000 kelvin, looks harsh and can wash out colors. Brightness should be moderate. A gate needs enough light to see a latch and read a number, not enough to light the street.
A dimmer or a dusk to dawn sensor helps manage brightness and energy use. A timer can lower the output late at night.
Aiming and shielding
Aim fixtures so that the light falls on the gate and walkway, away from windows of neighbors and away from the road. Shields, hoods and frosted lenses reduce glare. Check the view from the street at night. If a bulb is visible, adjust the position or add a shield.
Wiring and power
Plan the power before columns are built. Low voltage systems are safe and flexible, with a transformer feeding cables to each fixture. Line voltage systems are brighter and need conduit, with a licensed electrician for wiring. Run conduit through columns and under the drive before pouring concrete. Add a spare conduit for future needs, such as a gate operator or a camera.
Weather and durability
Choose fixtures rated for wet locations. Solid brass, copper and powder coated aluminum last in Texas heat and storms. Seal the base against water. Use LED lamps for long life and low heat, since fixtures inside closed lanterns heat up in summer.
Local rules
Some neighborhoods and cities require shielded fixtures or limit brightness and color temperature. Check the rules and choose fixtures that comply, for example those labeled as dark sky friendly.
Summary
Choose a lantern in proportion to the column, add a downlight over the latch, aim and shield all fixtures, use warm white light at moderate brightness and plan the wiring in advance. Done well, the gate is easy to use and pleasant to see at night.
Fixing common problems
Several problems recur. Glare from a bare bulb is solved by a diffuser or a shield. A dark spot between fixtures is solved by adding a path light or moving one fixture closer. Harsh shadows from a single high light are softened by adding a low second source. A flickering lantern usually points to a loose connection or a failing transformer, and condensation inside a lantern means the seals have failed and the fixture needs to be resealed or replaced.
Choosing bulbs
LED lamps last for years and run cool. Pick lamps rated for enclosed fixtures when the lantern has a closed glass, and match the color temperature across all fixtures so the light looks uniform. A lower output, around two hundred to four hundred lumens per fixture, is plenty for a gate entry. Keep a few spare lamps and note the type in the maintenance log so replacements match.
Respecting neighbors
Light travels farther than expected. Walk next door and look back at the gate at night. If a fixture shines into a window, aim it lower, add a hood or lower the brightness. Neighbors who feel considered are less likely to complain to the association, and a gentle glow looks more refined than a bright blaze.
Where each fixture goes
Start with height. A lantern on a column cap sits best when the center of the glass lands near five to six feet, so that faces and the latch fall inside the pool of light. A downlight mounted on an arm or the top rail should aim at the latch and the walking surface rather than at the street. Spacing matters too. Fixtures set too far apart leave a dark gap, while those set too close create a harsh bright strip. Mark the positions with tape and check them at night before drilling anything.
Wiring and power
Low voltage systems are friendlier at a gate, since the cable can be buried shallow and the transformer sits near an existing outlet. Use outdoor rated cable, seal every connection and leave a drip loop at each fixture so that water drains away from the joint. Run a spare conduit while trenches are open, because a future camera, keypad or second light will need a path.